
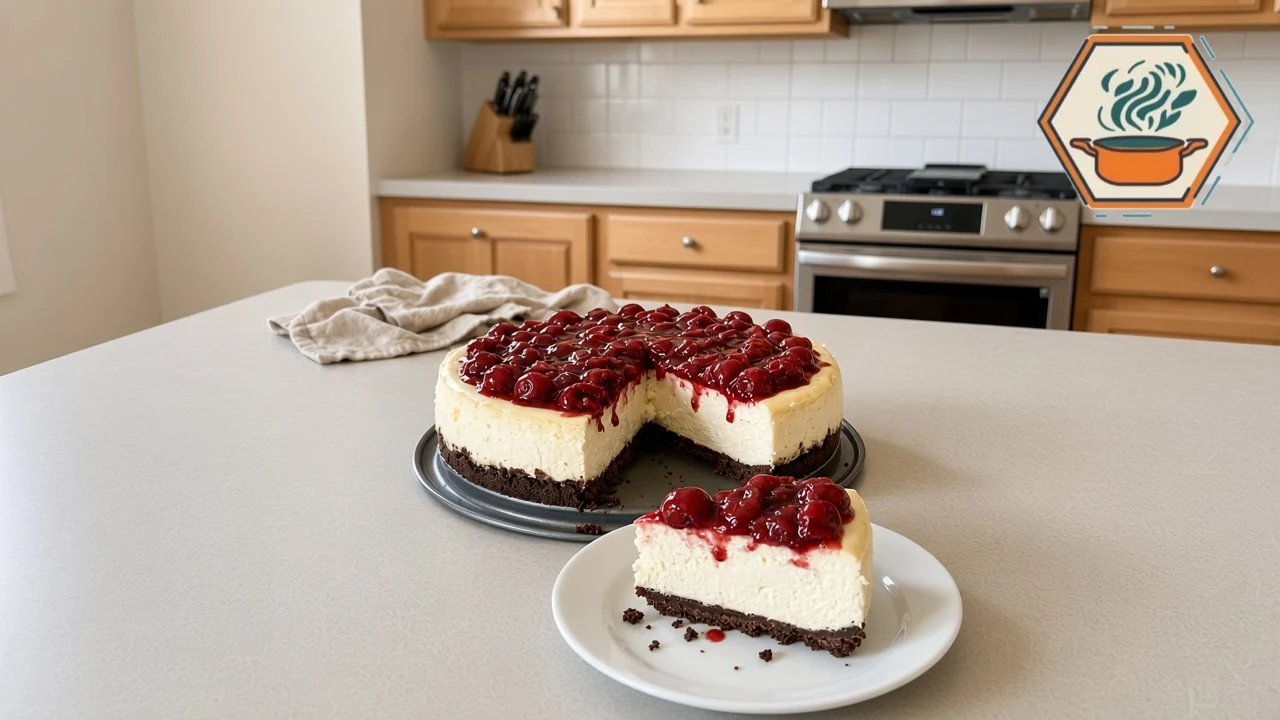
Chocolate and cherries were made for each other, and this white chocolate cherry cheesecake leans all the way into that pairing. A buttery chocolate cookie crust, a thick white chocolate filling, and a generous layer of glossy homemade cherries come together in a 9-inch springform pan, with no oven required.
The idea comes from a post on the RecipesMind.Com Facebook page, which showed the finished cheesecake and asked a simple question: would you choose this chocolate cherry version or a classic cherry cheesecake? The short video was only a hook. It skipped quantities and how to cook the cherries. The written recipe below fills those gaps with exact amounts, a reliable no-bake method, and a realistic make-ahead schedule.
This is a white chocolate cheesecake, not a vanilla cheesecake that happens to sit on a chocolate crust. Melted white chocolate is beaten into the cream cheese, then folded with whipped cream, so the filling firms in the refrigerator as the cocoa butter sets. If you would rather keep the filling plain, our no-bake cherry chocolate cheesecake is the classic-style version on the site.
Affiliate Disclosure: As an Amazon Associate I earn from qualifying purchases. Product links in this article may earn a commission at no additional cost to you.
What’s in This Post
- Why This White Chocolate Cherry Cheesecake Works
- Tools You’ll Need
- Ingredients, at a Glance
- How to Make the Chocolate Cookie Crust
- How to Make the White Chocolate Filling
- How to Make the Cherry Topping
- Chill, Unmold, and Top
- Timing and Make-Ahead
- Storage and Food Safety
- Common Mistakes and Easy Fixes
- FAQ
Why This White Chocolate Cherry Cheesecake Works
A no-bake cheesecake has to set without eggs or an oven, so the filling needs structure from the ingredients themselves.
- White chocolate: Melted, cooled until just warm, and beaten into room-temperature cream cheese, it firms again in the refrigerator. That cocoa-butter set gives the filling its thick, sliceable texture.
- Full-fat brick cream cheese: Use the 8-ounce blocks, not the spread in a tub, so the filling does not turn loose or watery.
- Cold whipped cream: Folded in at the end, it keeps the cheesecake creamy rather than dense like a baked New York-style cake.
The crust is a thick, bottom-only layer of chocolate sandwich-cookie crumbs and melted butter, so the ivory sides show once the springform ring comes away. The cherry topping is cooked on the stove with sugar, lemon, and cornstarch, then cooled completely so it stays glossy and does not melt the filling. Gelatin is optional. With well-cooled white chocolate, an overnight chill, and full-fat cream cheese, the cake should slice cleanly without it. In a very warm kitchen, a little bloomed gelatin is extra insurance; the recipe card notes both paths.
Tools You’ll Need
A few sturdy tools make the steps cleaner and more consistent.
- A 9-inch springform pan at least 3 inches deep, such as the Fat Daddio’s 9 x 3-Inch Round Springform Pan, gives the filling enough height and releases cleanly. (The listing also offers other sizes; use the 9 x 3-inch pan.)
- A Cuisinart Power Advantage 5-Speed Hand Mixer beats the cream cheese smooth and whips the cream to medium-stiff peaks. (Other colors and speed counts appear on the same listing; this recipe uses the 5-speed HM-50.)
- An OXO Good Grips Bent Icing Spatula spreads the filling evenly without dragging up the crust. (A smaller size is also on the listing; the standard 12.75-inch spatula is linked here.)
- A 2-quart saucepan like the Cuisinart Chef’s Classic Stainless 2-Quart Saucepan gives the cherries room to simmer without bubbling over. (Choose the 2-quart size on the listing.)
- A digital OXO Good Grips 11-Pound Food Scale is the most accurate way to portion the cookies, white chocolate, and cherries, since cookie weights vary by brand.
- For fresh cherries, an OXO Good Grips Cherry & Olive Pitter speeds things up. (The listing includes Beet and Black colors.) Frozen, already-pitted dark sweet cherries skip this step.
You will also want a food processor or a bag and rolling pin for the crumbs, a heatproof bowl, a thin knife, and parchment.
Ingredients, at a Glance
Use regular chocolate sandwich cookies, cream filling and all, not thin or extra-stuffed versions. Thirty-two cookies weigh about 360 grams and, with melted butter, make a thick, sturdy base. For the filling, choose a good-quality white chocolate baking bar rather than chips, which can melt less smoothly. Three 8-ounce blocks of full-fat cream cheese should sit out until they give easily, usually 30 to 45 minutes. A modest 1/3 cup of powdered sugar is enough because the chocolate is already sweet, and 1 cup of cold heavy whipping cream (at least 36% milk fat) adds lift without loosening the slices. Dark sweet cherries, fresh or frozen, go into the topping; frozen fruit can go straight into the pan. Lemon juice supplies the sweet-tart contrast, and a cornstarch slurry thickens the juices so they sit on the cake instead of running off.
How to Make the Chocolate Cookie Crust
Lightly grease the sides of a 9-inch springform pan and line the bottom with a parchment round. Pulse the cookies to fine crumbs in a food processor, or seal them in a bag and crush them with a rolling pin until no large pieces remain. Stir in the melted butter and a pinch of salt until every crumb looks damp and holds together when pressed.
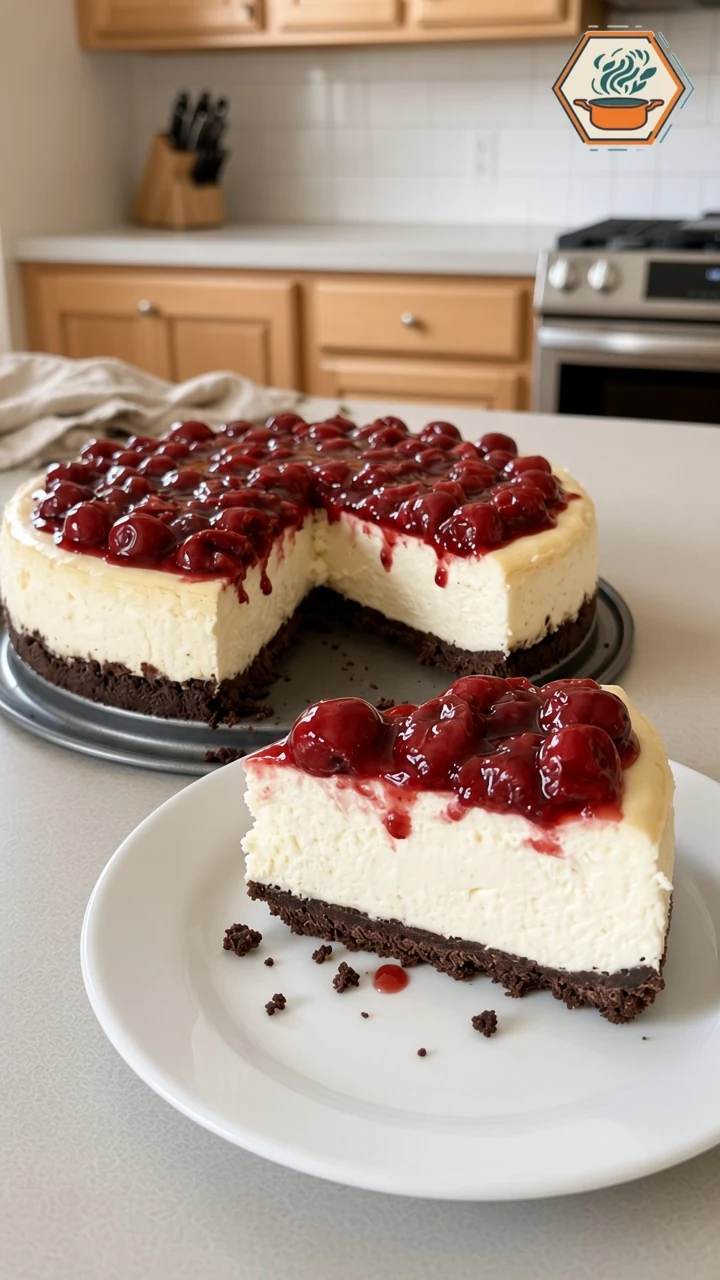
Press the mixture firmly into an even layer on the bottom only, about 3/4 inch thick. The flat bottom of a drinking glass packs the crumbs more evenly than your fingers. You can press a little of the mixture about 1 inch up the sides for a chocolate rim, but the version in the photos keeps a thick bottom crust so the ivory sides show once the ring comes away.
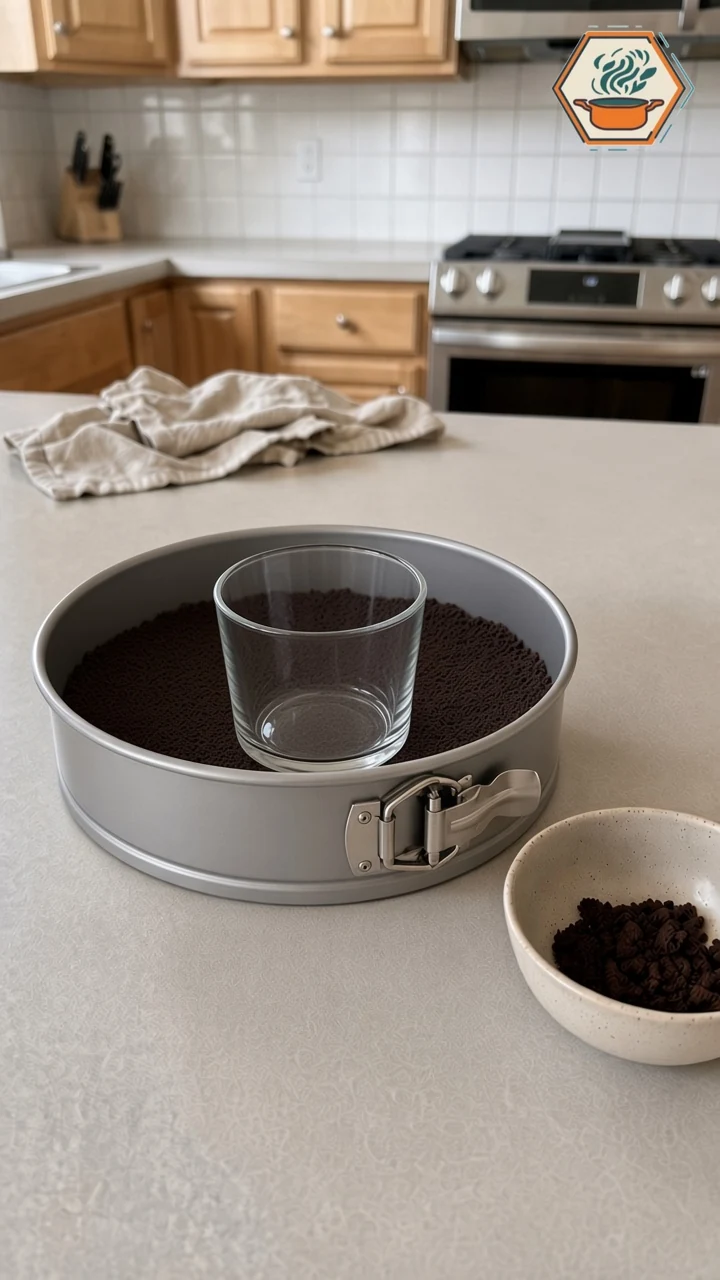
Refrigerate the crust for at least 15 minutes, or up to a day, while you make the filling. A cold crust is less likely to lift when you spread the filling, and there is no need to bake the crumbs.
How to Make the White Chocolate Filling
Chop the white chocolate and melt it in a heatproof bowl set over barely simmering water, or in the microwave in 20-second bursts, stirring between bursts, until smooth. Cool until it is barely warm but still pourable, about 5 to 10 minutes.
Beat the softened cream cheese on medium speed until it is completely smooth, about 2 minutes, then scrape the bowl. Beat in the powdered sugar, vanilla, lemon juice, and salt, then stream in the cooled white chocolate and beat until the mixture is silky and uniform.
If you are using the optional gelatin, sprinkle 1 1/2 teaspoons unflavored powdered gelatin over 2 tablespoons of cold water and let it stand for 5 minutes. Warm it gently just until it dissolves; do not let it boil. Beat a spoonful of the cream cheese mixture into the gelatin to temper it, then beat that back into the bowl before you add the cream.
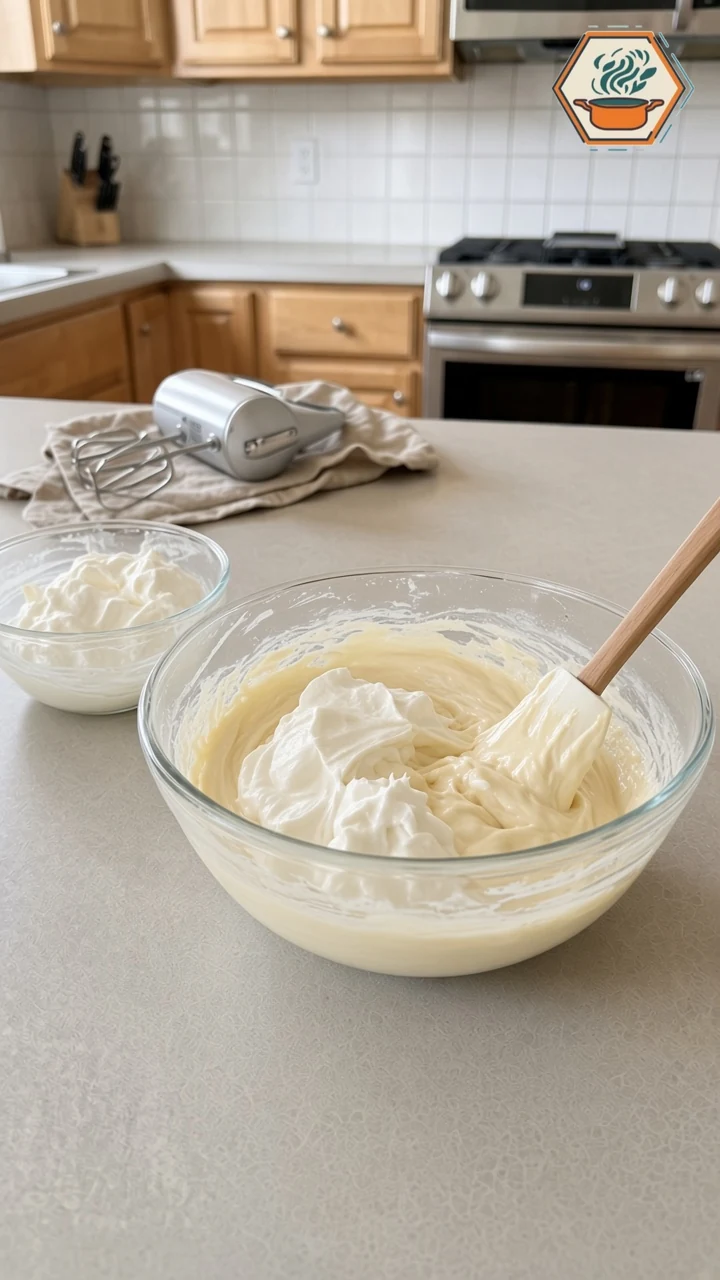
In a separate cold bowl, whip the cold heavy cream to medium-stiff peaks. The peaks should stand and then droop slightly at the tip; over-whipped cream can turn grainy once it is folded in. Fold the cream into the cream cheese mixture in two additions until no white streaks remain, then stop so you do not deflate the filling.
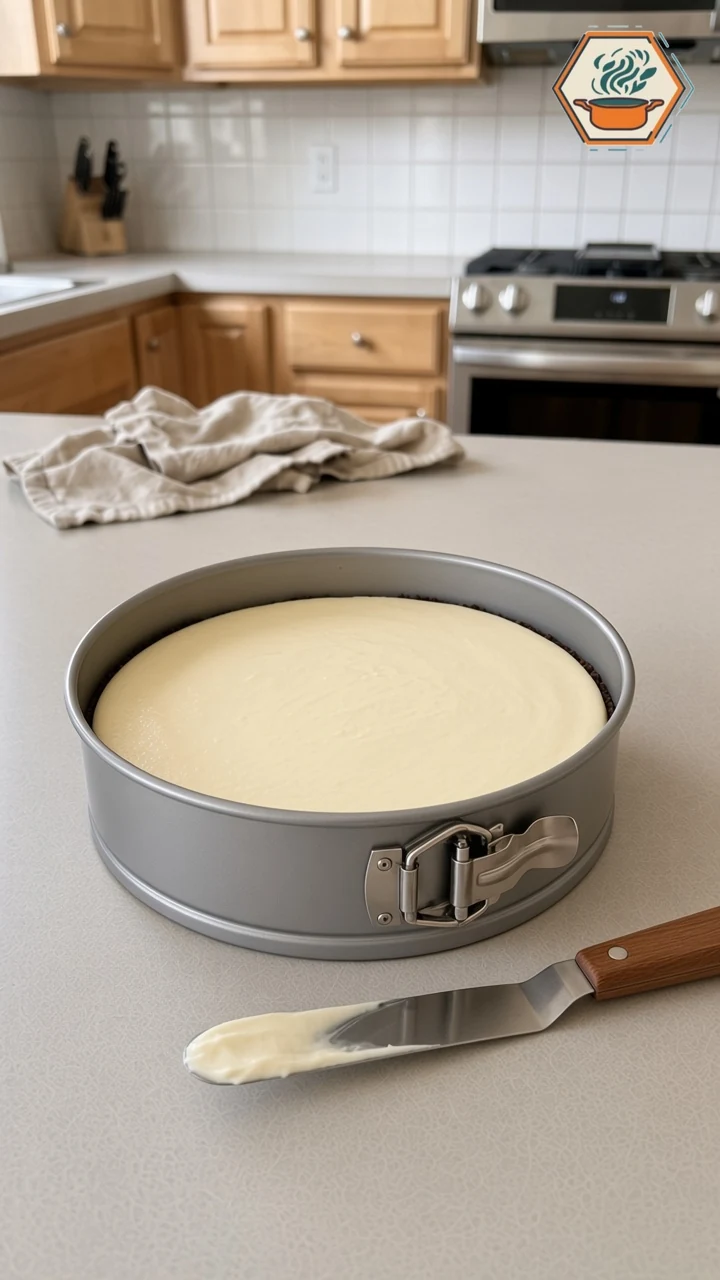
Spoon the filling over the chilled crust and spread it to the edges with an offset spatula. Cover the pan (a plate or loose plastic wrap works; keep the wrap off the surface) and refrigerate for at least 8 hours, preferably overnight, about 12 hours. The longer rest gives the cleanest slices.
How to Make the Cherry Topping
Cook the topping while the crust chills, or later in the day; it has to be completely cold before it goes on the cake. Combine the cherries, sugar, lemon juice, and a pinch of salt in a 2-quart saucepan. Cook over medium heat, stirring often, until the cherries release their juices and come to a gentle simmer, about 5 to 8 minutes, or a little longer if they started frozen.
Stir the cornstarch into 1 tablespoon of cold water until smooth, then stir the slurry into the pan. Cook 1 to 2 minutes more, still stirring, until the juices turn glossy and clearly thicken; they should coat a spoon. Take the pan off the heat, stir in the vanilla or almond extract, cool to room temperature, then refrigerate until cold.
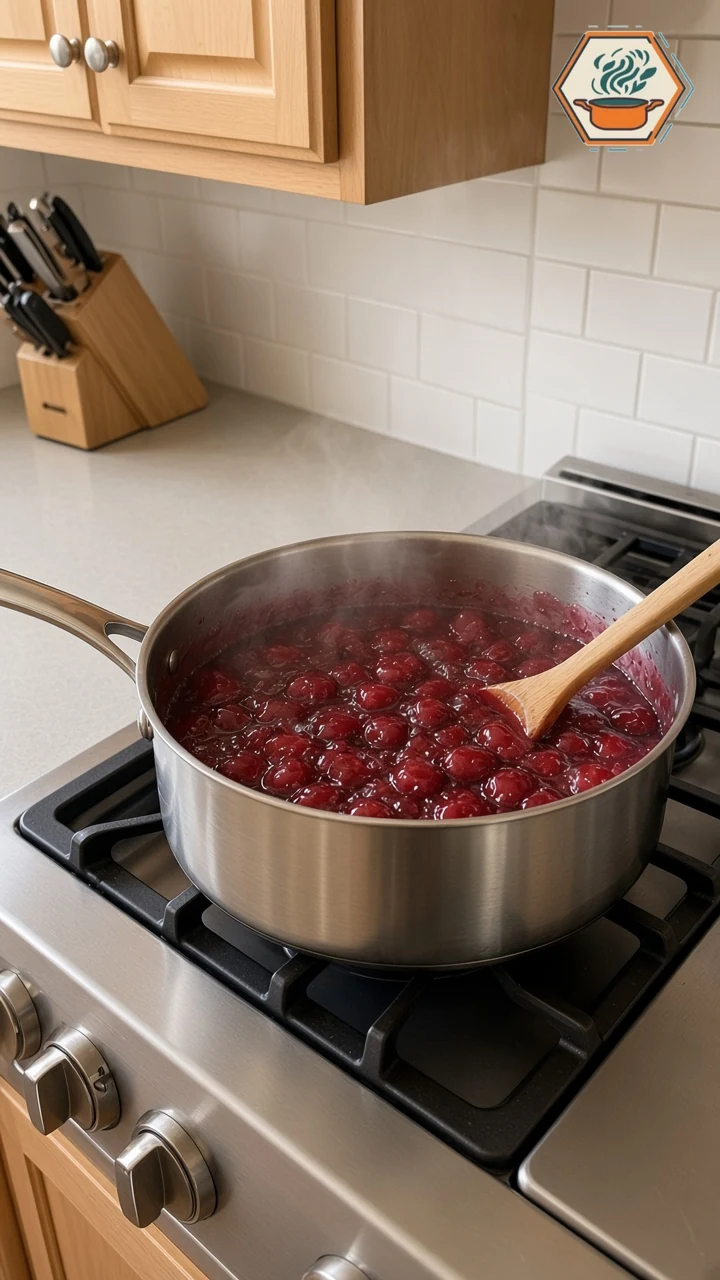
If the topping sets too firm in the refrigerator, stir in a teaspoon or two of water to loosen it. Do not put a warm topping on a chilled cheesecake; the heat will soften the filling and the slices can slump.
Chill, Unmold, and Top
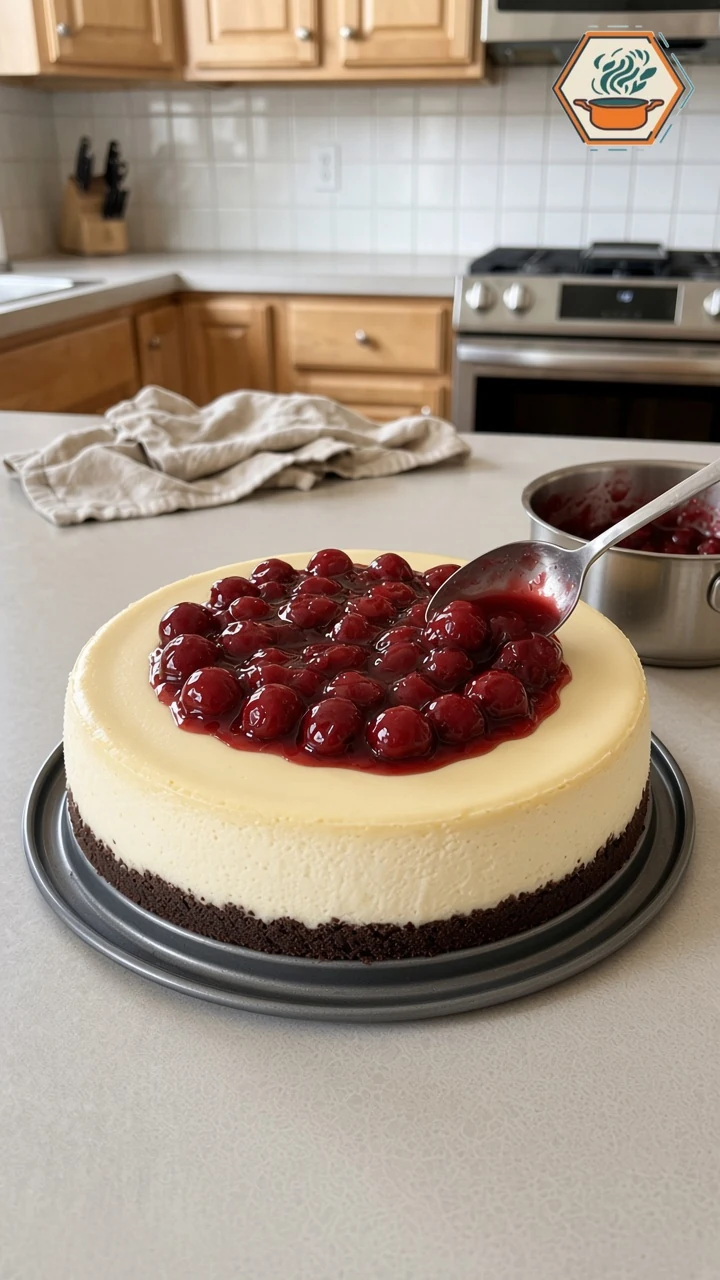
When the cheesecake is fully cold and feels firm in the center, run a thin knife around the inside of the ring, open the latch, and lift the ring straight up. If a little filling clings, wipe the knife and go around once more. Leave the cake on the pan base, or slide it onto a platter if you used parchment and feel confident doing so.
Spoon the cold cherry topping over the top, starting in the center and nudging the fruit toward the edges so the sides stay mostly clean. Serve it right away, or chill it 30 to 60 minutes more so the topping settles. For tidy slices, dip a sharp knife in hot water, wipe it dry, and clean the blade between cuts.
Timing and Make-Ahead
Plan on about 45 minutes of active prep, 10 minutes of stovetop cooking for the cherries, and at least 8 hours of chilling. An overnight rest of about 12 hours gives the firmest slices. The topping can chill at the same time as the cake.
- Active prep: 45 minutes (crust, filling, and getting the topping on the stove)
- Cook: 10 minutes (cherry topping)
- Chill: 8 hours minimum, 12 hours recommended
- Ready to serve: about 8 hours 55 minutes at the minimum chill, or the next day if you rest it overnight
A practical plan is to make the crust, filling, and topping in the evening, chill everything overnight, and unmold and top the cake the next day. The topping can also be made up to 3 days ahead and kept covered in the refrigerator. For another no-bake fruit cheesecake with a similar overnight rhythm, see our no-bake strawberry cheesecake.
Print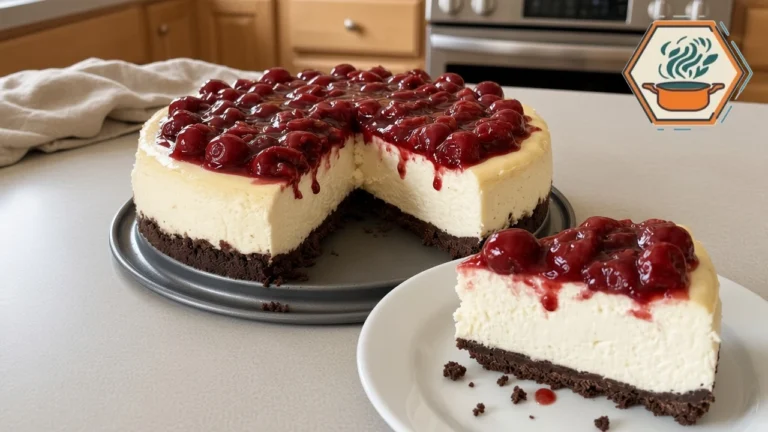
No-Bake White Chocolate Cherry Cheesecake
A no-bake white chocolate cheesecake on a buttery chocolate cookie crust, finished with a glossy homemade dark-sweet-cherry topping.
- Total Time: 8 hours 55 minutes
- Yield: 12 slices (9-inch springform)
Ingredients
Chocolate cookie crust
32 regular chocolate sandwich cookies (about 360 g), including the filling
6 tablespoons (85 g) unsalted butter, melted
Pinch of fine salt (optional)
White chocolate filling
8 oz (226 g) good-quality white chocolate, chopped (baking bars preferred)
24 oz (three 8-oz blocks / 680 g) full-fat brick cream cheese, softened
1/3 cup (40 g) powdered sugar
1 teaspoon pure vanilla extract
1 teaspoon fresh lemon juice
Pinch of fine salt
1 cup (240 ml) cold heavy whipping cream (at least 36% milk fat)
Optional, for a firmer set
1 1/2 teaspoons unflavored powdered gelatin
2 tablespoons cold water
Cherry topping
4 cups (about 560 g) pitted dark sweet cherries, fresh or frozen
1/3 cup (67 g) granulated sugar, or up to 1/2 cup if the cherries are very tart
2 tablespoons fresh lemon juice
1 tablespoon cornstarch mixed with 1 tablespoon cold water
1/2 teaspoon pure vanilla extract, or 1/8 teaspoon almond extract
Pinch of fine salt
Instructions
Lightly grease the sides of a 9-inch springform pan and line the bottom with a parchment round. Pulse the cookies to fine crumbs, stir in the melted butter and salt, and press the mixture firmly into an even layer on the bottom only. Refrigerate at least 15 minutes.
Chop and melt the white chocolate until smooth. Cool until barely warm but still fluid, 5 to 10 minutes.
Beat the softened cream cheese on medium speed until completely smooth, about 2 minutes. Beat in the powdered sugar, vanilla, lemon juice, and salt, then stream in the cooled white chocolate and beat until silky.
If using gelatin, sprinkle it over the cold water and let it stand 5 minutes. Warm it gently just until dissolved (do not boil). Beat a spoonful of the cream cheese mixture into the gelatin, then beat that back into the bowl.
In a separate cold bowl, whip the cold heavy cream to medium-stiff peaks. Fold it into the cream cheese mixture in two additions until no white streaks remain.
Spread the filling over the chilled crust, smooth the top, cover, and refrigerate at least 8 hours, preferably overnight (about 12 hours).
For the topping, combine the cherries, sugar, lemon juice, and salt in a 2-quart saucepan. Cook over medium heat, stirring often, until the cherries simmer, 5 to 8 minutes (a little longer if frozen). Stir in the cornstarch slurry and cook 1 to 2 minutes more, until the juices are glossy and thick. Remove from the heat, stir in the vanilla or almond extract, and cool completely, then refrigerate until cold.
When the cheesecake is firm in the center, run a thin knife around the ring, unlatch, and lift the ring away. Spoon the cold cherry topping over the top. For clean slices, use a hot, dry knife, wiping the blade between cuts.
Notes
Timing: 45 minutes active prep + 10 minutes cooking + 8 hours minimum chilling = 8 hours 55 minutes until ready to serve. An overnight 12-hour chill is recommended for the cleanest slices (about 12 hours 55 minutes total). The topping chills at the same time as the cake.
The cake is fully no-bake. A thick bottom-only crust leaves the ivory sides visible; you can press crumbs about 1 inch up the sides if you want a chocolate rim.
Gelatin is optional. Use it in a warm kitchen or if you want slightly earlier, neater slices.
Use baking bars when you can; let the melted chocolate cool until barely warm but still pourable so it does not loosen or seize the filling.
Food safety: the filling contains cream cheese and cream. Refrigerate within 2 hours of serving (1 hour above 90°F) and eat leftovers within 3 to 4 days. Freeze tightly wrapped slices, or the untopped cake, for up to 1 month; thaw in the refrigerator and add or refresh the topping after thawing.
- Prep Time: 45 minutes
- Chill Time: 8 hours
- Cook Time: 10 minutes
- Category: Dessert
- Method: No-Bake
- Cuisine: American
Storage and Food Safety
This filling is made with cream cheese and heavy cream, so it needs to stay cold. Per the FDA’s guidance on storing food safely and the USDA FSIS leftovers and food safety page, refrigerate perishable food within 2 hours (1 hour if the room is above 90°F). Keep the cheesecake at 40°F or below. The FDA’s safe food handling page covers the same two-hour rule.
Cover leftovers and refrigerate them for 3 to 4 days, which matches the usual USDA leftover window. The crust softens as it sits, so the texture is best in the first two days. Freeze tightly wrapped slices, or the untopped whole cake, for up to 1 month. Thaw overnight in the refrigerator and add or refresh the topping after thawing, because the sauce can weep in the freezer.
Common Mistakes and Easy Fixes
- Lumpy filling: The cream cheese was too cold, or the white chocolate was too cool and seized. Start with truly softened blocks and chocolate that is still fluid. Small lumps can sometimes be beaten out on low; large seized bits are harder to fix.
- Filling that will not set: The cream may have been under-whipped, the white chocolate may have been too hot, or the cake simply needs more time. Give it the full overnight chill before you decide it has failed. In a warm kitchen, use the optional gelatin next time.
- A crust that crumbles or feels greasy: Too little butter and the crumbs will not pack; too much and the base can feel heavy. Weigh the cookies when you can, and press firmly.
- A runny topping: The cornstarch needs a short simmer to thicken, and the topping has to be cold before it goes on the cake. If it is too thick after chilling, loosen it with a teaspoon of water.
- Ragged slices: The cake was not cold enough, or the knife was not wiped between cuts. Chill longer, then use a hot, dry blade.
FAQ
Do I have to use gelatin?
No. The white chocolate and the overnight chill set the cheesecake. Gelatin is only a backup for a warm kitchen or slightly earlier slicing. If you skip it, still chill the cake at least 8 hours, and preferably 12.
Can I use canned cherry pie filling?
You can, in a pinch. Spoon off some of the extra gel so the top does not look soupy, and wait until the cheesecake is fully set. The homemade topping has a deeper flavor and whole dark cherries that match the photos.
Can I use sour cherries instead of dark sweet cherries?
Yes. Increase the sugar in the topping to about 1/2 cup and taste as it simmers. The method stays the same.
My white chocolate seized. Can I save the filling?
Seizing usually happens when water gets into the chocolate, or when melted chocolate meets a much colder mixture. If it tightens into a stiff paste before it goes into the cream cheese, a teaspoon of warm neutral oil or a brief return to gentle heat, stirring constantly, can sometimes loosen it. If it is already in the filling as hard specks, start the chocolate over. Keep the cream cheese fully softened, and cool the chocolate only until it is barely warm.
Can I make this ahead for a holiday table?
Yes. Make the cheesecake and the topping up to 1 day ahead and keep both refrigerated. Unmold and add the cherries the day you serve it. Leftovers keep 3 to 4 days in the refrigerator.
What if I want a baked chocolate-crust cheesecake instead?
This recipe is written to stay no-bake. For a baked version with a chocolate cookie crust, try our raspberry swirl chocolate crust cheesecake. For a layer cake that still pairs chocolate with cherries, see our Black Forest cherry cream layer cake.
So, would you choose this white chocolate cherry version, or do you still lean toward a classic cherry cheesecake?